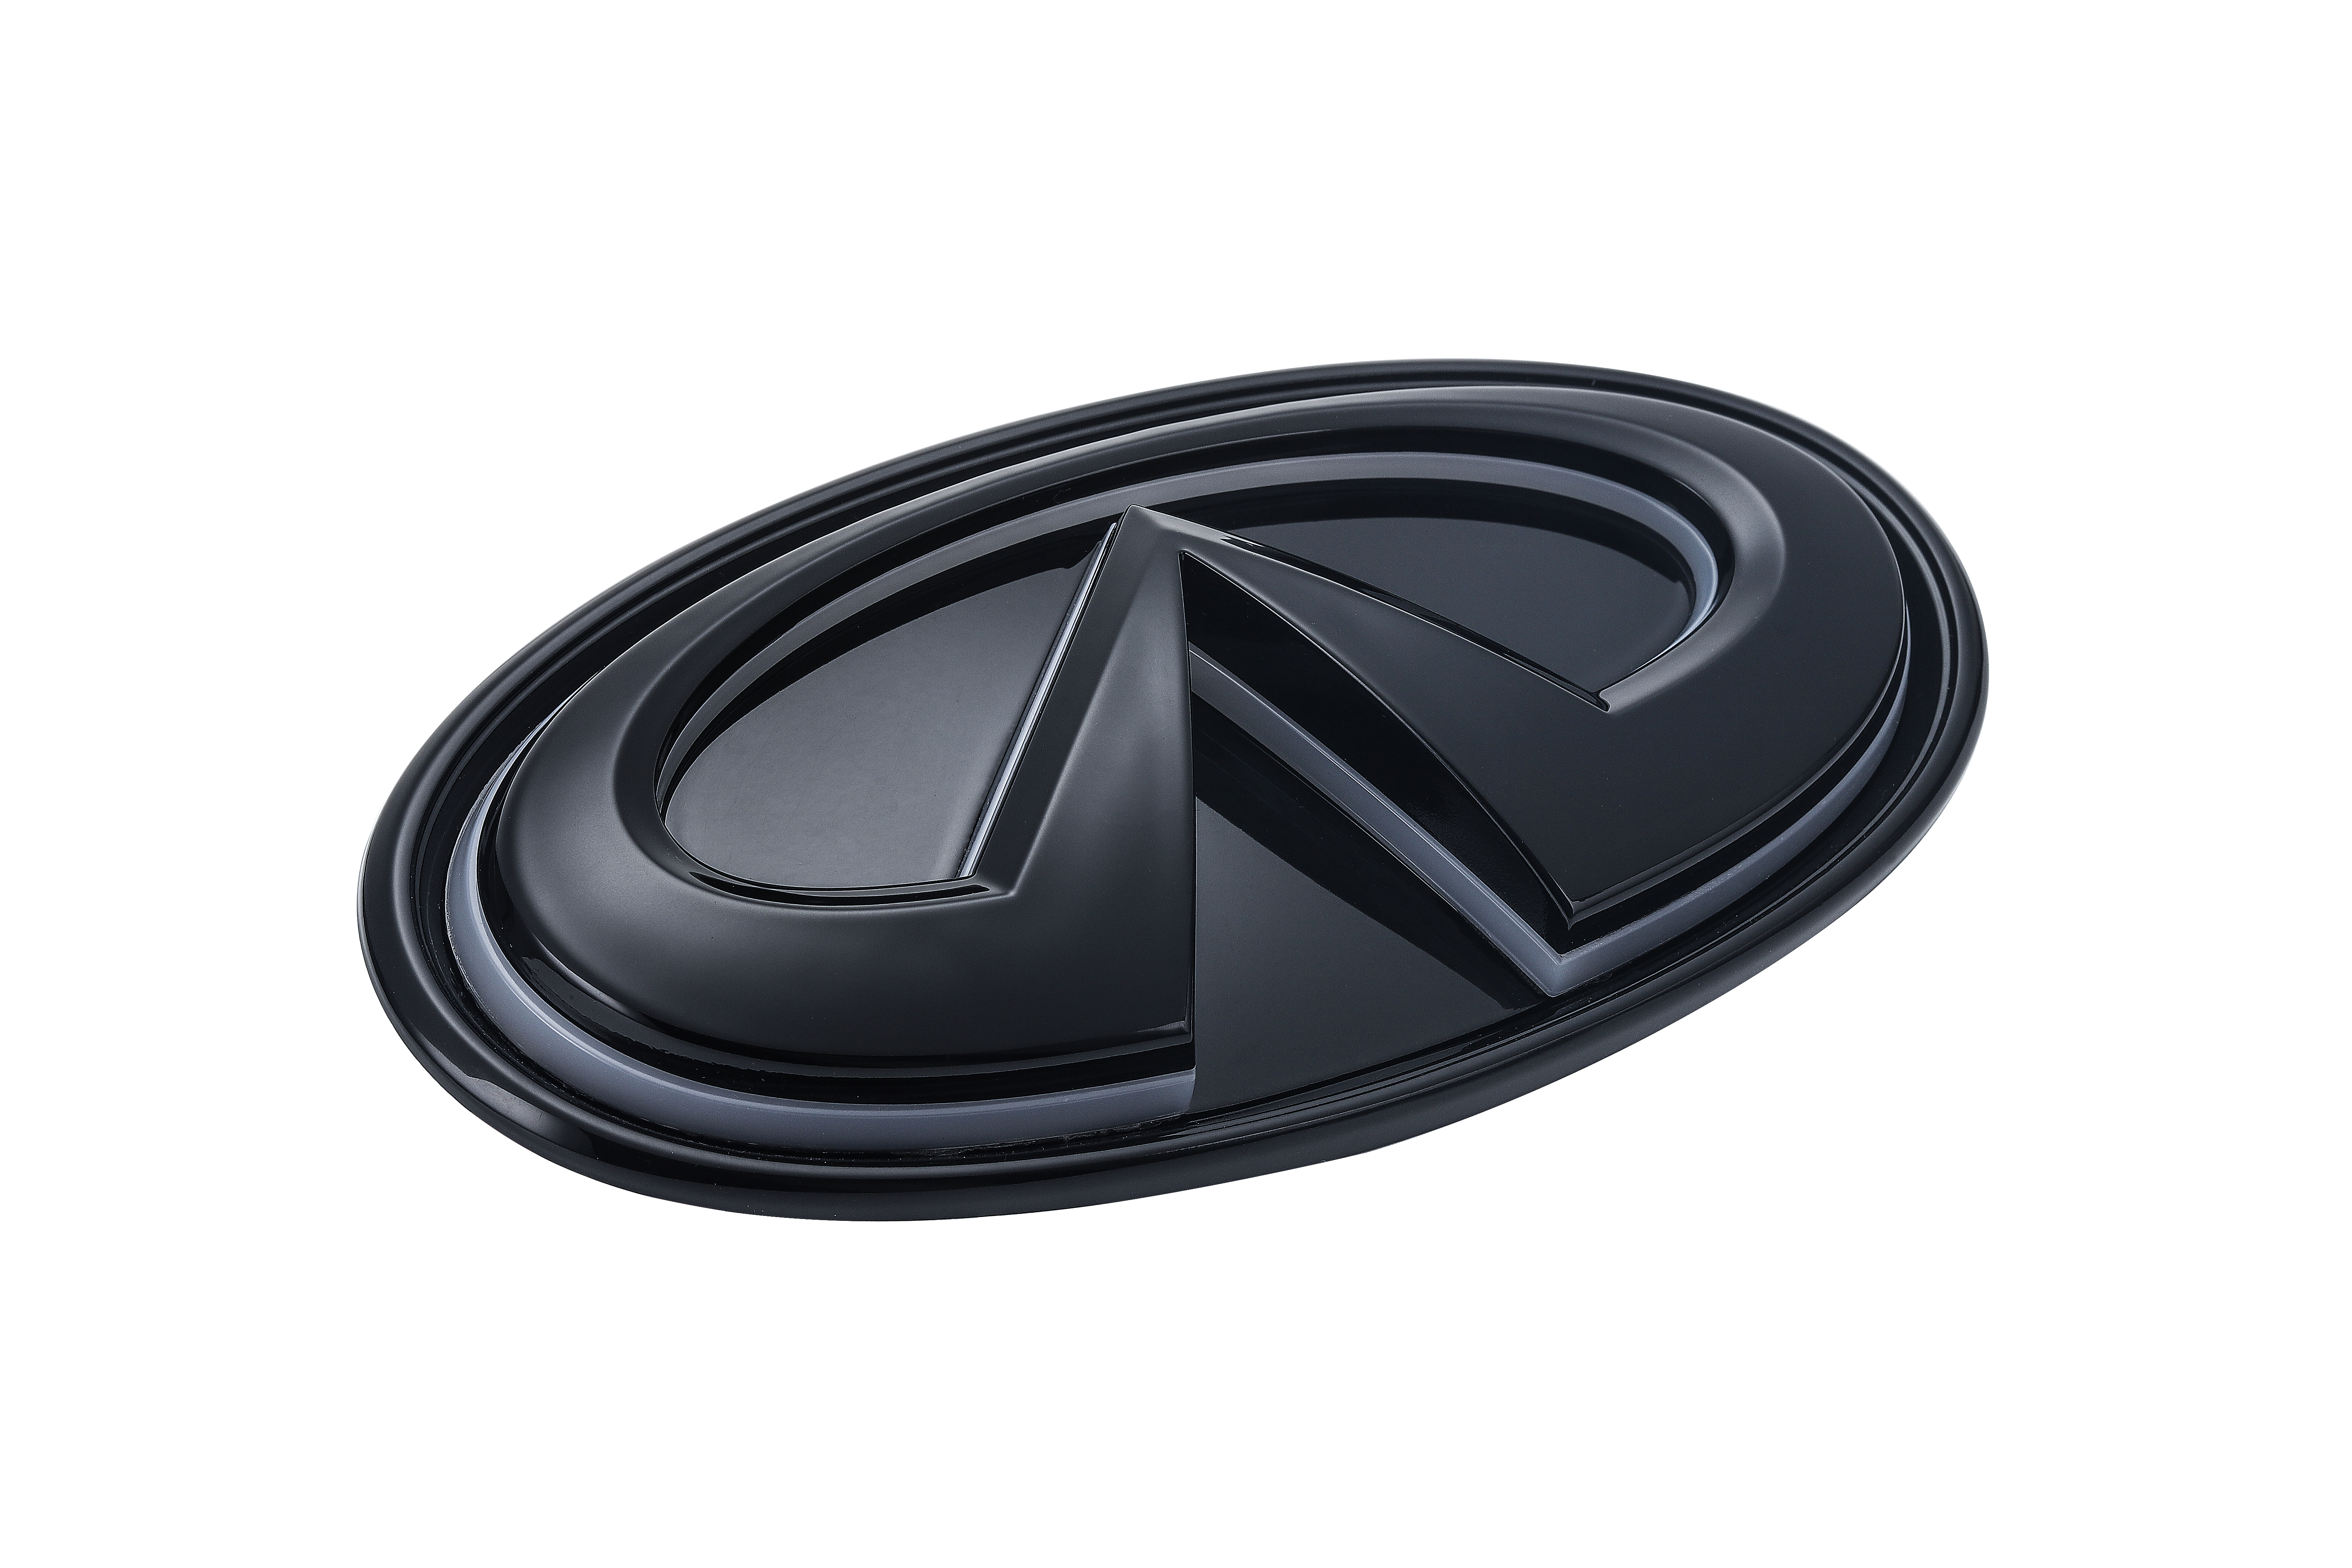

How to Install an Illuminated LED Emblem on an Infiniti Q50 2018–2021
Installing an illuminated LED emblem on an Infiniti Q50 usually involves removing the original front grille emblem, positioning the replacement LED emblem, routing its wiring behind the grille, connecting it to a suitable power source, and testing the light before reassembling the vehicle.
However, the exact installation procedure can vary according to the emblem design, grille type, trim level, wiring harness, and whether the vehicle has a front camera or sonar equipment.
Before beginning, confirm that the illuminated emblem is designed for your exact Infiniti Q50 model year and front grille configuration. Do not assume that every emblem advertised for the Q50 fits every trim or driver-assistance package.
This guide provides a general installation process for selected 2018–2021 Infiniti Q50 models. Always follow the instructions supplied with your specific LED emblem, and use a qualified automotive electrician when the correct power connection cannot be confidently identified.
What Is an Infiniti Q50 Illuminated LED Emblem?
An illuminated emblem replaces the standard Infiniti badge located in the center of the front grille. Integrated LEDs allow the outline or background of the logo to light up when connected to an appropriate vehicle-lighting circuit.
Infiniti sells certain factory illuminated accessories under the name Radiant Grille Emblem. Official parts listings describe the accessory as adding LED backlighting to the front emblem.
Aftermarket versions are commonly available in several styles:
- Fixed white LED
- RGB multicolor
- Animated or flowing RGB
- Black Edition
- Chrome-style
- Emblem-only replacements
- Complete grille and emblem assemblies
A fixed white LED emblem is generally aimed at drivers who want a clean, OEM-inspired appearance without an RGB controller or multiple lighting modes.
Vehicle Fitment: What to Check Before Installation
Fitment should be checked before removing any original vehicle parts.
For an emblem advertised for the Infiniti Q50 2018–2021, verify the following information.
Confirm the Exact Model Year
Check that the product listing specifically includes your vehicle:
- 2018 Infiniti Q50
- 2019 Infiniti Q50
- 2020 Infiniti Q50
- 2021 Infiniti Q50
A similar-looking grille does not guarantee that the emblem dimensions, clips, brackets, or mounting points are identical.
Check the Grille Type
Determine whether the vehicle still has its original grille or has been fitted with an aftermarket grille.
Check for:
- Factory chrome grille
- Factory black grille
- Sport grille
- Red Sport-style grille
- Aftermarket mesh grille
- Previously modified emblem mount
If the grille has been changed, compare the product dimensions and rear mounting points with the opening on the vehicle before installation.
Check for a Front Camera and Sonar Equipment
This is one of the most important fitment checks.
Official Infiniti parts listings separate some illuminated grille assemblies into versions for vehicles with camera and sonar and versions without camera and sonar.
Before ordering or installing an emblem, determine:
- Whether the vehicle has a front camera
- Whether sonar sensors are fitted near the grille
- Whether the emblem or wiring could obstruct a sensor
- Whether the product requires a different bracket
- Whether the vehicle has an existing connector for an illuminated emblem
Do not move, cover, disconnect, or modify a safety-related camera or sensor without following the vehicle manufacturer’s procedures.
Tools and Materials You May Need
The required tools depend on the exact emblem and grille. A typical installation may require:
- Plastic trim-removal tool
- 10 mm socket and ratchet
- Small screwdriver
- Wire stripper or crimping tool
- Automotive electrical connectors
- Heat-shrink tubing
- Automotive electrical tape
- Cable ties
- Multimeter or circuit tester
- Protective cloth or masking tape
- Suitable fuse protection
- Product-specific mounting hardware
Published third-party Q50 emblem guides commonly list a trim tool, 10 mm socket, electrical tape or heat shrink, cable ties, and wire-working tools among the installation equipment.
Do not begin until you know which connectors, brackets, clips, and wiring components are included with your product.
Before You Start
Park the vehicle on a flat, well-lit surface. Switch off the engine, remove the key or keep the smart key away from the vehicle, and allow the exterior lighting to turn off.
Open the hood and inspect the area behind the grille.
Before disconnecting or modifying any electrical circuit:
- Read the instructions supplied with the emblem.
- Confirm the operating voltage.
- Identify the recommended power source.
- Determine whether battery disconnection is required.
- Check whether disconnecting the battery could affect saved vehicle settings.
- Photograph the original grille and wiring arrangement.
Do not rely only on wire color. Wire colors and electrical configurations can differ by model year, market, trim, and previous vehicle repairs.
Use a wiring diagram and a multimeter, or ask an automotive electrician to identify the appropriate connection.
Step 1: Test the LED Emblem Before Installation
Test the emblem before removing the factory badge.
Use the testing method specified by the product manufacturer. Confirm that:
- The entire emblem illuminates
- The light is even
- There is no flickering
- The wire is undamaged
- The connector fits securely
- The housing is not cracked
- Moisture is not visible inside the lens
Testing first helps separate a product problem from an installation or vehicle-wiring problem.
Do not leave the emblem connected directly to a battery longer than necessary, and do not test it without appropriate circuit protection.
Step 2: Protect the Grille and Surrounding Paint
Place a soft cloth over nearby painted surfaces and use suitable masking tape around areas that could be contacted by tools.
Use plastic trim tools rather than metal screwdrivers whenever possible. A metal tool can scratch the grille, damage the emblem surface, or mark surrounding paint.
Avoid placing pressure on the transparent face of the LED emblem. Installation guidance for illuminated Infiniti emblems warns that excessive pressure on the face can crack the surface or damage the LEDs behind it.
Handle the replacement emblem by its edges or housing.
Step 3: Access the Rear of the Factory Emblem
Open the hood and inspect the upper grille cover.
Depending on the vehicle and emblem design, you may need to remove:
- Plastic push clips
- Upper radiator cover
- Small bolts or nuts
- Air guides
- Grille retainers
Place all removed fasteners in a container so they are not lost.
Some replacement-emblem installations may be completed by accessing the rear of the grille from above. Other products or grille configurations may require more extensive disassembly.
Do not promise that bumper removal is unnecessary unless this has been verified on the exact vehicle and product combination.
Step 4: Remove the Original Infiniti Emblem
Locate the clips, tabs, nuts, or fasteners holding the original emblem to the grille.
A third-party Q50 installation guide recommends accessing the emblem from behind the grille, removing its fasteners, and gently pushing the emblem outward rather than aggressively prying from the front.
Work slowly:
- Identify every mounting point.
- Release clips one at a time.
- Support the emblem with your other hand.
- Push from behind where possible.
- Avoid bending the grille.
- Do not force a clip that has not been fully released.
If the badge does not move, stop and check for a hidden fastener. Excessive force can crack the grille or break a mounting tab.
After removing the original emblem, clean the mounting area with a suitable automotive-safe cleaner. Remove dirt, wax, and old adhesive without damaging the grille finish.
Step 5: Compare the Original and Replacement Emblems
Before securing the LED emblem, place it beside the factory emblem and compare:
- Overall width and height
- Curvature
- Rear depth
- Clip positions
- Stud positions
- Mounting bracket
- Wire exit location
- Camera clearance
- Sensor clearance
Temporarily position the LED emblem in the grille without forcing it into place.
Confirm that it sits straight and does not create a large gap around its edges. The housing should not press against a camera, sensor, radiator component, shutter system, or sharp metal edge.
If the mounting points do not align, do not enlarge holes or cut the grille until the seller or installer confirms that modification is part of the intended installation.
Step 6: Route the LED Emblem Wiring
Feed the emblem wire through an existing grille opening or the path specified by the manufacturer.
Route the wire toward the planned power connection while keeping it away from:
- Radiator fans
- Belts
- Pulleys
- Hot engine components
- Sharp metal edges
- Hood-latch movement
- Active grille components
- Camera and sonar wiring
Use cable ties to secure the wire, but do not pull them so tightly that they damage the insulation.
Leave a small amount of controlled slack near the emblem so vibration does not place constant tension on the wire. Do not leave a loose loop that could contact the fan or another moving component.
Protect any wire passing through metal with an appropriate grommet or abrasion-resistant sleeve.
Step 7: Connect the Emblem to Power
This is the part of the installation that requires the most care.
An illuminated emblem may be connected so that it operates with:
- Parking lights
- Daytime running lights
- Low-beam headlights
- An accessory circuit
- A dedicated switch
- An existing factory illuminated-emblem connector
The correct option depends on the product, vehicle, and desired operation.
Some aftermarket Q50 installation instructions describe connecting an emblem to a headlight circuit. However, those instructions may apply only to a particular product or model configuration and should not be treated as universal wiring guidance.
Before making a connection:
- Consult the emblem instructions.
- Consult the correct vehicle wiring information.
- Confirm voltage with a multimeter.
- Confirm when the circuit turns on and off.
- Use suitable fuse protection.
- Make weather-resistant connections.
- Avoid damaging factory wiring.
Do not use an unverified wire simply because its color matches an online video.
Poor wiring may cause:
- Flickering
- Intermittent operation
- Blown fuses
- Battery drain
- Moisture-related corrosion
- Lighting malfunctions
- Damage to the emblem
- Damage to the vehicle’s electrical system
For a vehicle equipped with sensitive driver-assistance systems or unfamiliar wiring, professional installation is recommended.
Step 8: Secure the New LED Emblem
Once the wiring has been routed, align the emblem with the grille.
Install it using the hardware intended for that product:
- Factory-style clips
- Included nuts
- Product-specific bracket
- Screws
- Automotive-grade mounting tape, when specified
Support the emblem from the sides while applying gentle, even pressure. Do not push hard in the center of the illuminated face.
Check that:
- The emblem is level
- All clips are fully engaged
- The housing does not move
- No wire is trapped behind a mounting point
- The grille is not distorted
- Camera and sensor areas remain clear
Mounting tape should not be used as a substitute for required mechanical fasteners unless the product instructions specifically call for it.
Step 9: Test the Emblem Before Reassembly
Before reinstalling covers and clips, test the complete system.
Check the emblem with the vehicle in all relevant lighting conditions:
- Vehicle off
- Parking lights on
- Headlights on
- Engine running
- Engine switched off
- Vehicle locked
Confirm that:
- The emblem turns on at the intended time
- It turns off correctly
- The light does not flicker
- All LED sections illuminate evenly
- No warning messages appear
- The wiring does not become hot
- The front camera still displays correctly
- Parking and sonar systems operate normally
If the emblem remains illuminated when the vehicle is parked, disconnect it and check the selected power circuit before completing the installation.
Step 10: Reassemble the Vehicle
After the emblem passes testing:
- Secure the wiring one final time.
- Trim excess cable-tie ends.
- Reinstall removed grille fasteners.
- Reinstall the upper cover.
- Replace damaged clips.
- Check the hood-latch area.
- Close the hood carefully.
- Inspect the emblem alignment from several angles.
Take a short drive and recheck the emblem afterward. Confirm that vibration has not loosened the housing or wiring.
Common Infiniti Q50 LED Emblem Installation Problems
The Emblem Does Not Light Up
Possible causes include:
- Incorrect power source
- Poor ground connection
- Reversed polarity
- Loose connector
- Blown fuse
- Damaged wire
- Faulty emblem
Test the emblem separately according to the manufacturer’s procedure before assuming that the vehicle circuit is the problem.
The Emblem Flickers
Flickering may be caused by:
- Unstable electrical connection
- Incorrect circuit selection
- Loose ground
- Incompatible controller
- Damaged LED driver
- Moisture in the connector
Do not continue driving with exposed or overheating wiring.
The Emblem Stays On After the Vehicle Is Off
The emblem may have been connected to a constant-power circuit rather than an appropriate switched circuit.
Recheck the wiring plan. Leaving the emblem continuously powered could discharge the battery.
The Emblem Does Not Sit Flush
Possible causes include:
- Incorrect product version
- Misaligned clips
- Wrong grille
- Trapped wiring
- Incompatible mounting bracket
- Aftermarket grille differences
Do not force the emblem into place. Confirm dimensions and mounting points with the seller.
Moisture Appears Inside the Emblem
Disconnect the product if water has entered its electrical components.
Check the housing, wire exit, connector seals, and installation position. Contact the seller regarding warranty or replacement rather than opening a sealed unit unless instructed to do so.
Buying Advice for Infiniti Q50 Owners
Before purchasing an illuminated emblem, ask the seller for:
- Exact compatible model years
- Compatible trim levels
- Product dimensions
- Mounting-point photos
- Camera and sonar compatibility
- Wiring requirements
- Package contents
- Installation instructions
- Water-resistance information
- Warranty terms
For owners who prefer a simple exterior upgrade, a black illuminated grille emblem with fixed white LED lighting can complement the Q50’s headlights and black exterior trim without the extra controller required by many RGB products.
Our White LED Illuminated Front Grille Emblem for Infiniti Q50 2018–2021 is intended for buyers seeking a clean Black Edition appearance.
Before ordering, compare your vehicle’s grille, model year, camera configuration, mounting points, and emblem dimensions with the product information.
[View the Infiniti Q50 2018–2021 White LED Emblem]
Frequently Asked Questions
Can I install an illuminated emblem on every 2018–2021 Infiniti Q50?
Not necessarily. Compatibility may depend on the model year, trim, grille, front camera, sonar equipment, mounting points, and previous modifications.
Do I need to remove the front bumper?
It depends on the product and vehicle configuration. Some installations provide access from behind the upper grille, while others may require additional disassembly. Check the instructions for the exact emblem.
Can I connect the emblem directly to the battery?
A direct, unfused, permanent battery connection is not recommended. The emblem should use the product manufacturer’s specified, properly protected circuit.
Will the emblem drain the battery?
It should not remain powered while the vehicle is parked unless that function is intentionally designed and properly managed. Connecting it to the wrong circuit can cause battery drain.
Is the illuminated emblem waterproof?
Water resistance varies by product. Check the manufacturer’s test information, housing design, connector sealing, and warranty. Do not assume every LED emblem is fully waterproof.
Will the emblem affect the front camera?
It may if the wrong emblem or bracket is installed. Infiniti lists different illuminated grille products for some vehicles with camera and sonar equipment and vehicles without those features.
Should I install the emblem myself?
A person familiar with automotive trim removal and 12-volt wiring may be able to complete the installation. Professional installation is recommended when the correct circuit, camera compatibility, or grille-removal method is uncertain.
Final Thoughts
Installing an illuminated LED emblem can give an Infiniti Q50 a distinctive front-end appearance without changing the entire body design.
The most important part of the installation is not simply removing the old badge. It is confirming fitment, protecting the grille, routing the wire safely, selecting the correct electrical connection, and ensuring that the new emblem does not interfere with cameras or sensors.
Work slowly, test the light before final assembly, and do not rely on universal wiring claims. Installation details can differ between products and vehicle configurations.
For Q50 owners who prefer a clean and restrained look, a black emblem with white LED illumination can deliver a noticeable nighttime upgrade while maintaining an OEM-inspired style.